This is the first post in a series that covers a project born out of the classic combination - laziness and an eagerness to build something.
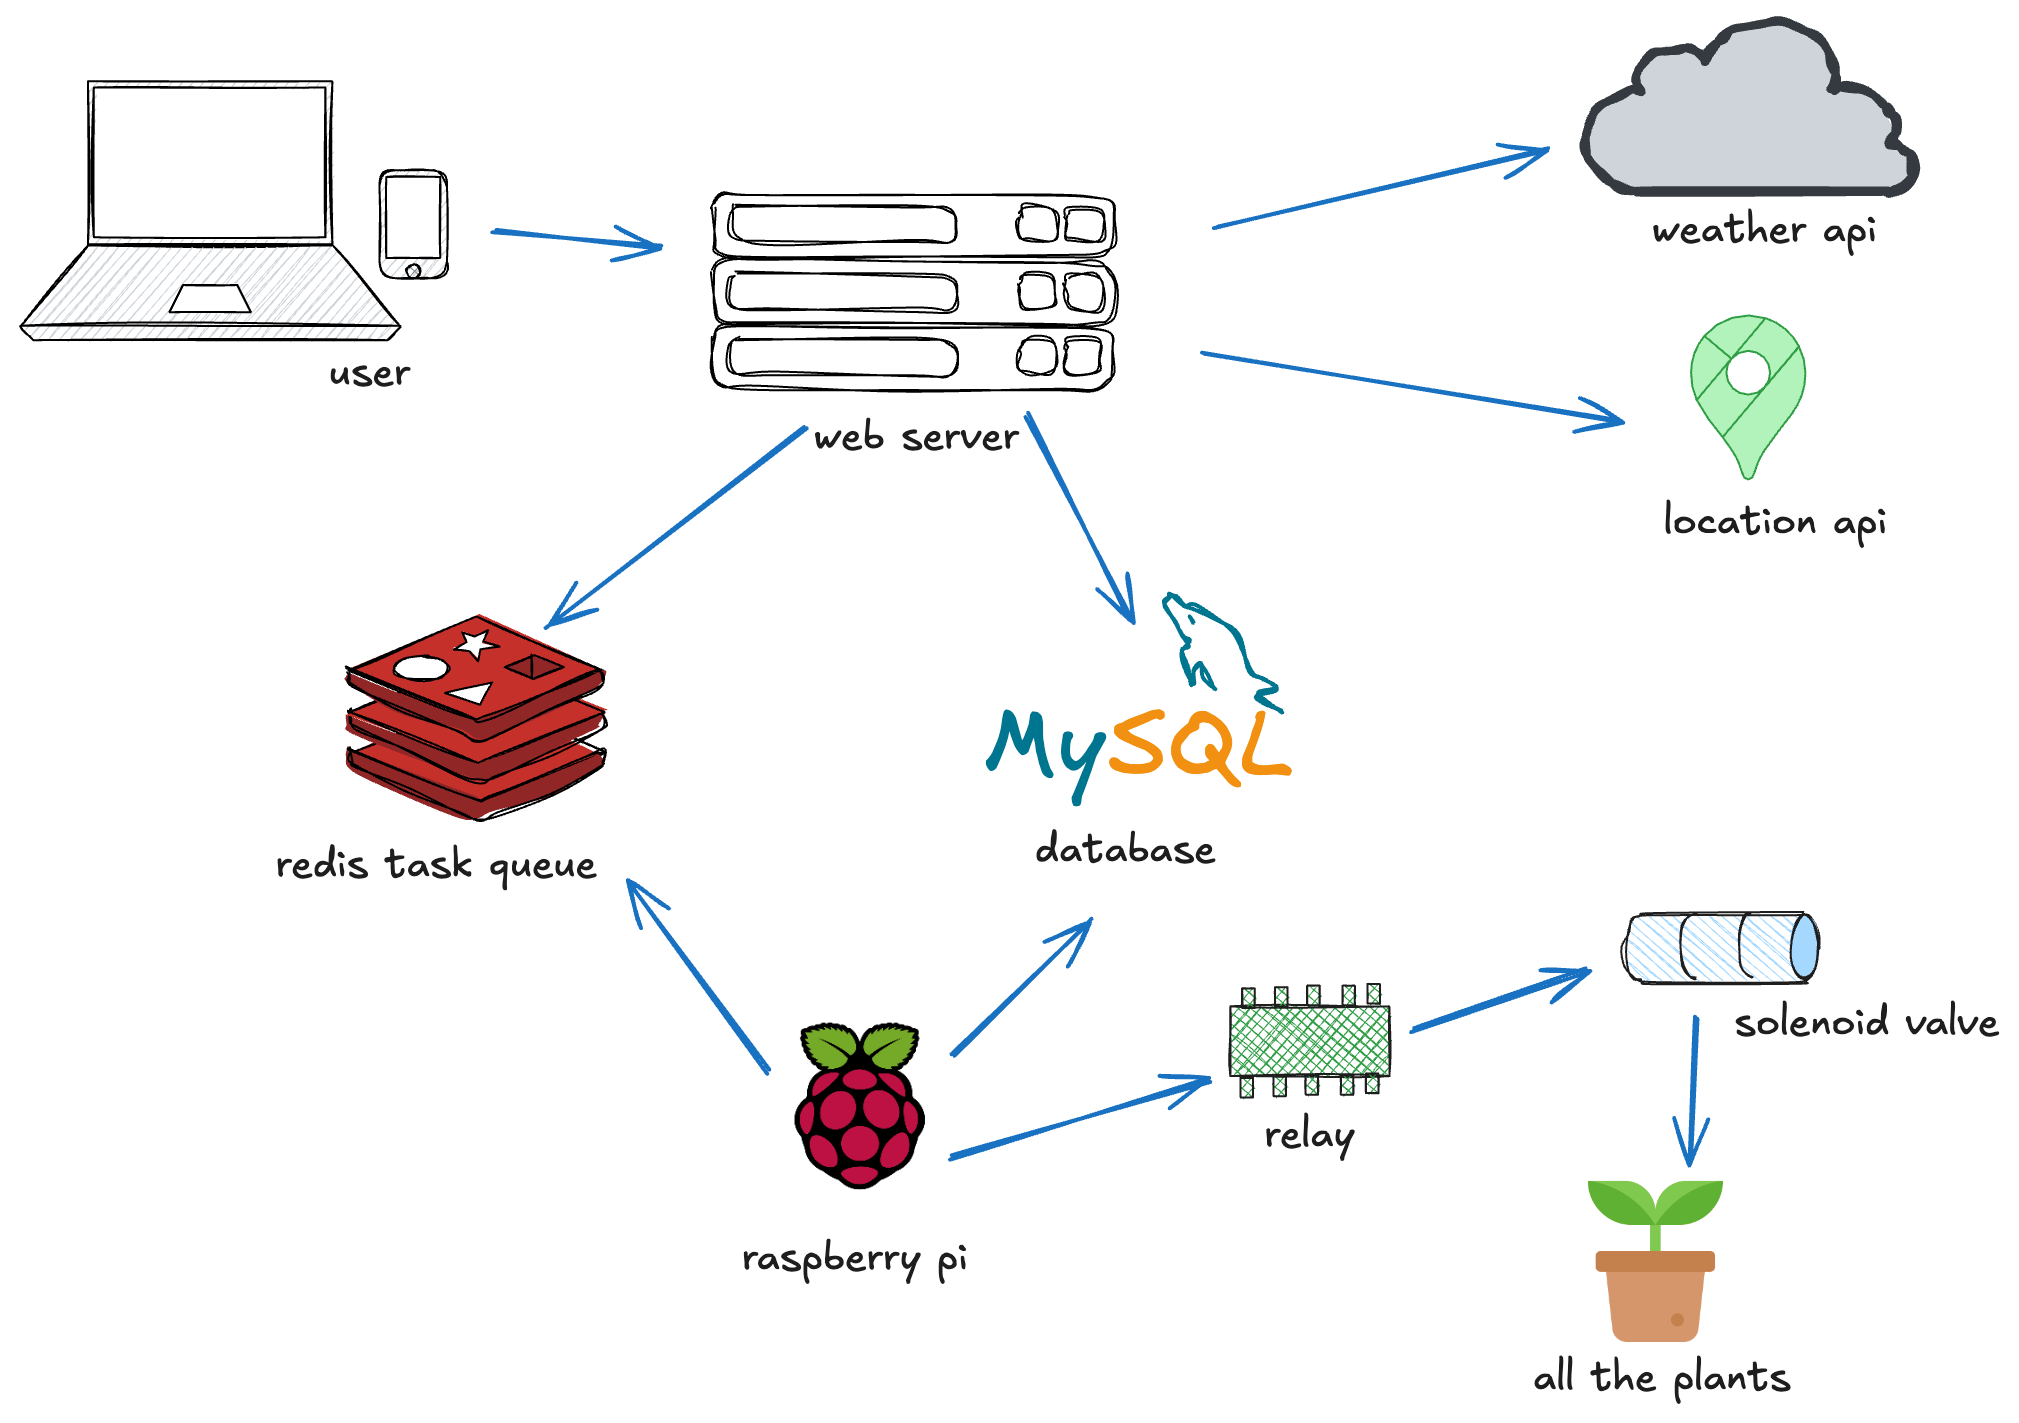
The aim is to create a home irrigation system using a Raspberry Pi that waters the plants in the garden based on the weather. This system should support watering schedules, ad-hoc watering, user notifications and prevent duplicate jobs.
The project divides nicely into different sections:
- Part 1 - Overview (this post)
- Part 2 - Hardware
- Part 3 - Application
Overview
The general idea of this project was to find a way to get a Raspberry Pi to water the plants around the garden on demand. Although that's all it was, an idea with no real knowledge of how to connect a Pi to a tap (presumably).
General research from this point hinted towards using Solenoid Valves which are designed to 'control fluid flow automatically'. This is achieved by supplying or removing power to the solenoid which in turn would open or close the valve (this combination varies based on the default state of the chosen valve) to control the water flow. This solenoid valve would then need a source of water (an outdoor tap) and a tube to deliver water to each plant.
As it turns out, there are many home irrigation drip kits for sale online which include fittings, pipes, connectors, nozzles, etc. In this scenario, due to having a raised section of the garden, a kit with 1/2" pipe was chosen over 1/4" pipe to support the slightly higher pressure required to carry water all the way to the end of the pipe.
Below is a mockup of the garden once the pipe had been installed.
- The outer orange perimeter is wall where the outdoor tap (gold rectangle) originates.
- The inner grey perimeter is decorative stones which now has 1/2" irrigation pipe buried underneath marked via the blue line.
- The larger brown section is a raised bed of many plants with pipe winding between them.
- The smaller brown section is a raised herb box where the pipe terminates.
- At each plant there is a smaller pipe branching off to supply water directly.
At this point I can lightly turn on the garden tap and water the plants without having to walk around the garden to water each one. Pretty good but not quite automated yet.
The second half of this project requires connecting a Raspberry Pi to the Solenoid Valve and only powering the valve for a set amount of time depending on the weather.
This would involve writing a script that can handle checking the weather, powering the valve and sending notifications when the job is run (if the plants needed to be watered).
Like any project, this script grew beyond it's means. It eventually led to a frontend, task queues and a better dev process overall that completely interrupted the project so I could learn Kubernetes to accommodate everything. More on all that in part 4.
It really could have just been a cron job.
The next part goes over the process of connecting the Raspberry Pi to the Solenoid Valve and opening/closing it from command line: Part 2 - Hardware.


