This post covers my experience and mistakes running through the Linux From Scratch project to build a custom Linux system. This project can be broken down into a few areas.
Firstly, Linux From Scratch (LFS). Linux From Scrach is a book and a project that guides the reader through the process of building their own custom Linux system from source. The user starts with a working host system and a mounted blank disk. The book then takes you through building cross compilers, compiling dependencies, building up the filesystem, installing the Linux kernel and configuring grub so that the once blank disk can now stand on its own as a basic, minimal Linux install. It's a bit more involved than one sentence can justify, but more on that later.
Following LFS, readers are encouraged to look at Beyond Linux From Scratch (BLFS) which is a book that can be used as a reference to install a variety of other applications on top of the LFS system such as editors, shells, databases, etc. This book contains well written guides that include the steps needed to build the software along with all of the required dependencies that you will inevitably need.
Finally, after installing a graphical environment, I decided to have a go at 'ricing'. To paraphrase /r/unixporn:
| "Rice" is a word that is commonly used to refer to making visual improvements and customisations on one's desktop. The word is accepted by the majority of the community and is used sparingly to refer to a visually attractive desktop upgraded beyond the default.
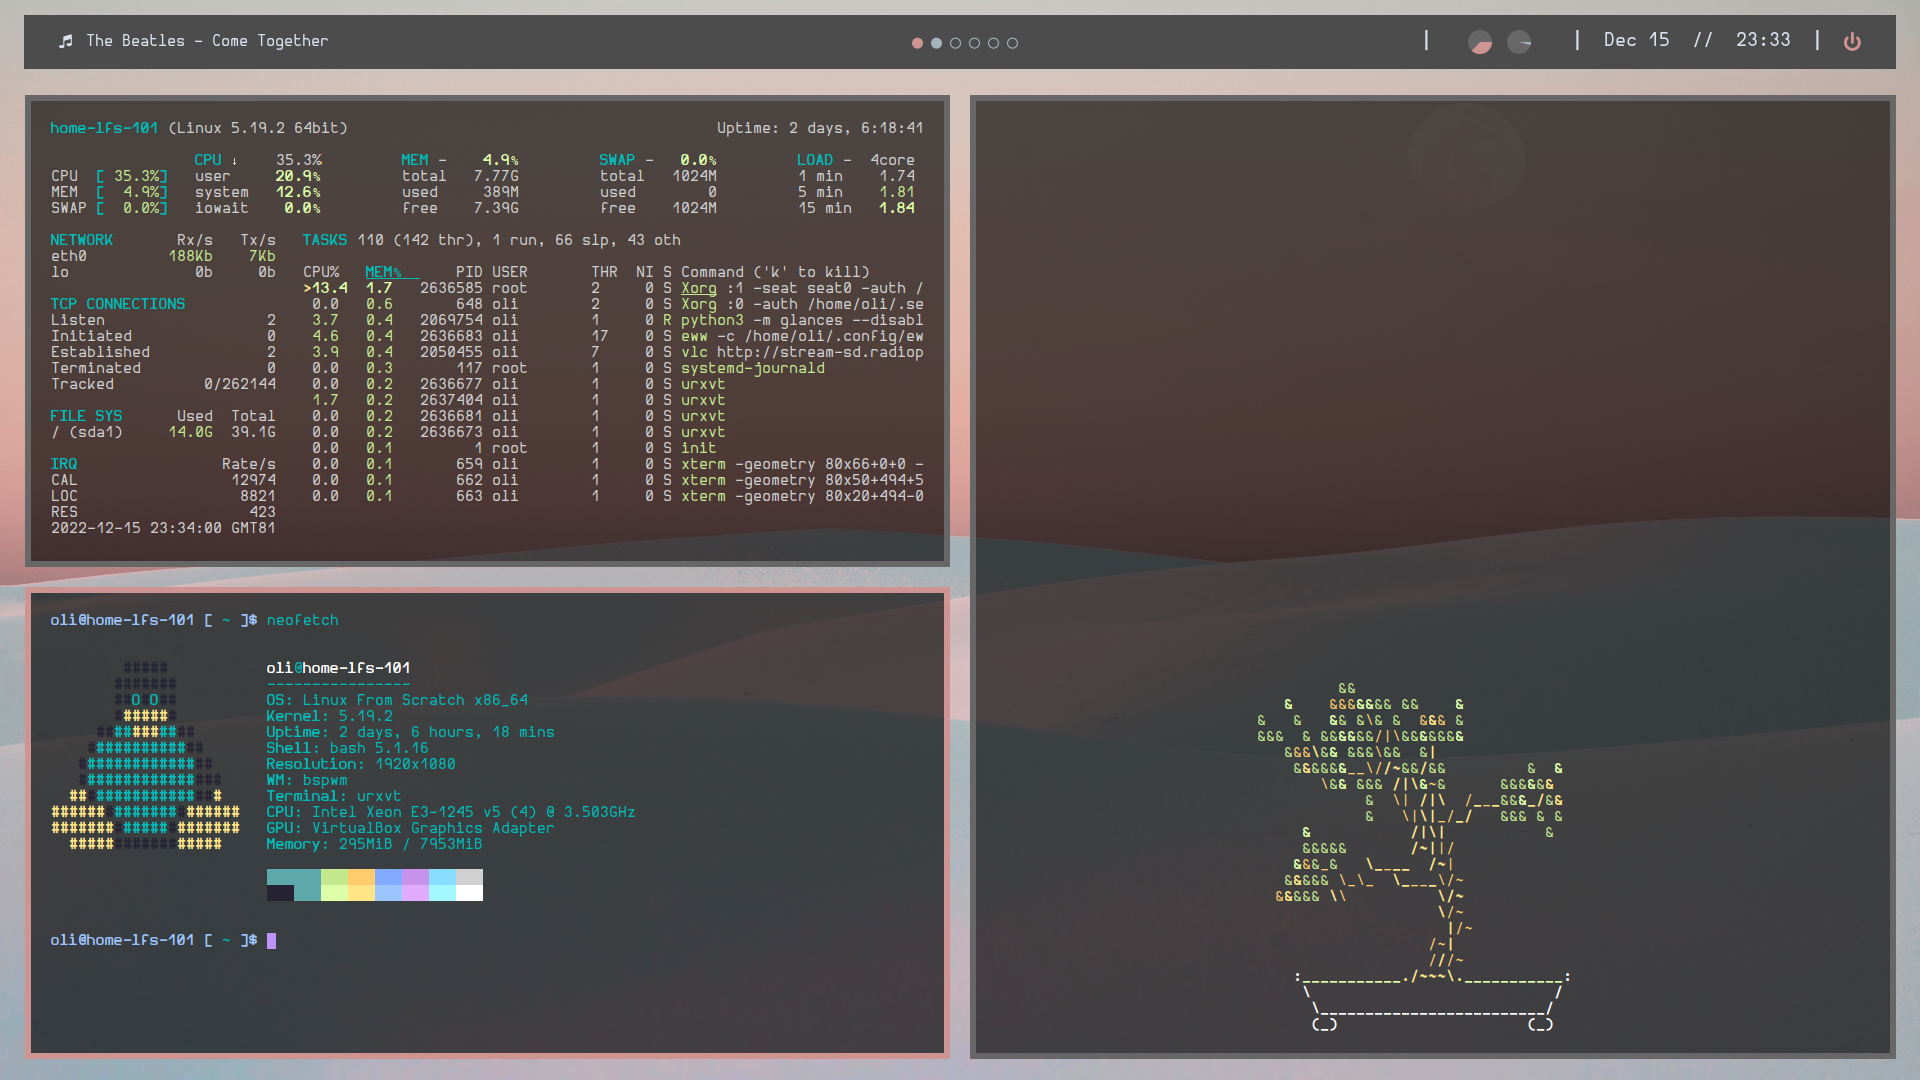
Here's a view of the end results before diving deeper into each section:
Quick stats:
- Time taken: ~30 Hours
- Packages compiled: ~320
- Recompiled Linux Kernel: 15 times
- Reboots: 250+
Linux From Scratch
An LFS build starts from an existing Linux install to get things going, so to keep things clean and simple I set up a VM that will be used just for this project. The Vagrant configuration below was used to create a Debian 11 machine in Virtualbox with a blank 40GB disk attached.
ENV["VAGRANT_EXPERIMENTAL"] = "disks"

Vagrant.configure("2") do |config|

  config.vm.box = "debian/bullseye64"
  config.vm.network 'private_network', ip: '192.168.56.13'

  config.vm.disk :disk, size: "40GB", name: "lfsbuild"

  config.vm.provider "virtualbox" do |v|
      v.memory = 4096
      v.cpus = 2
  end

end
The next steps are to ensure the 'host' (the Debian 11 machine in this case) is ready to build LFS. This mainly consists of checks for required software, such as GCC and Make. Then moving onto partitioning the blank disk (which will be referred to as the LFS disk going forward) and creating a file system and minimal file system layout for the build.
Where $LFS is the directory of the LFS disk mounted on the host.
mkdir -p $LFS/{etc,var,lib64} $LFS/usr/{bin,lib,sbin}

for i in bin lib sbin; do
  ln -sv usr/$i $LFS/$i
done
Now, Chapter 5/6 of LFS is where the actual build begins. The initial aim is to create a set of tools on the LFS disk that no longer rely on host system dependencies, besides the running kernel. To achieve this, a cross-compiler toolchain is created. This cross-toolchain is then used to build additional required packages from source without relying on the host system. With these packages available, the rest of the LFS build can be completed from a chroot environment containing the tools created from this process.
An overview of this process is outlined in the book but further, external reading would be encouraged to get a better understanding of the process. That being said, the commands are all there in the book to guide you through the LFS steps required.
It is also acknowledged that cross-compilation is normally used for building a compiler and its toolchain for a machine different from the one that is used for the build. However, LFS uses this process to separate any dependency on the host system.
Chapter 7 leads us into the desired chroot environment which, besides the kernel, is isolated from the host with enough tools to build up the rest of the Linux system from source. The kernel is mounted via virtual kernel file systems. We now create the rest of the file system layout for logs, libraries, docs, config, more binaries and pretty much any other directory as stated in the Filesystem Hierarchy Standard. This section also covers the important configuration files such as /etc/hosts, passwd, mtab, group, etc.
After a few more dependency installations we enter Chapter 8. The longest and most repetitive chapter of this project. This is where we install everything that makes a Linux system usable, recognisable, and ready to be tailored to preference.
Around 75 packages are compiled from source in this chapter, from deeper system dependencies like Intltool and grub to build tools like meson, and everyday utilities like tar and diff. Although it feels repetitive to build this many packages, it's rewarding along the way to install the tools you recognise and find appreciation for the tools you don't recognise.
With Chapter 8 now complete, we can take advantage of the tools installed to configure the new system. Chapter 9 contains steps to install bootscripts to start/stop services such as networking (
ifup / ifdown), state (halt / reboot) and filesystems (cleanfs / mountfs). At this point the configuration was fairly familiar with my existing Linux experience as we move to configuring networking, devices, shells and init.
Chapter 10 is the final section of LFS. Here we configure /etc/fstab to mount our disk.
We then move onto building the Linux Kernel and configuring the many available options to match the requirements of the system. Fortunately everything is outlined in the book, this is the first time I had built the kernel so the walkthrough and explanations of each step were invaluable.
Once built, the kernel is copied to the /boot/ directory. Finally, we configure GRUB as our bootloader to boot our kernel image from our former blank disk.
set default=0
set timeout=5

insmod ext2
set root=(hd0,2)

menuentry "GNU/Linux, Linux 5.19.2-lfs-11.2" {
    linux /boot/vmlinuz-5.19.2-lfs-11.2 root=/dev/sda2 ro
}
As far as LFS is concerned, that's about it. The rest is up to you. I decided to test the build by cloning the LFS virtual disk and copying it to a new machine, a fresh VM and attached it as the only disk.
Believe it or not, the VM did startup - although the only thing on screen was GRUB telling me no such disk. After some troubleshooting I finally got a result after changing my partition scheme to msdos and the root to /dev/sda1. So my correct bootable config would eventually look like
set default=0
set timeout=5

insmod ext2
set root=(hd0,msdos1)

menuentry "GNU/Linux, Linux 5.19.2-lfs-11.2-systemd" {
        linux   /boot/vmlinuz-5.19.2-lfs-11.2-systemd root=/dev/sda1 ro
}
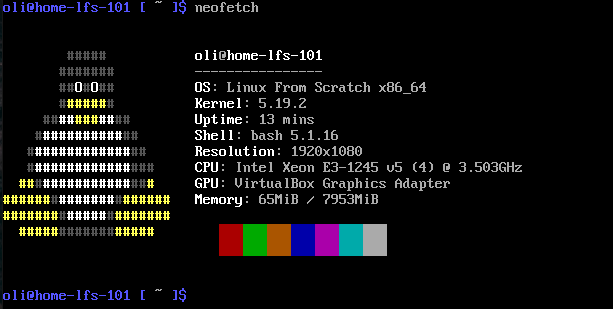
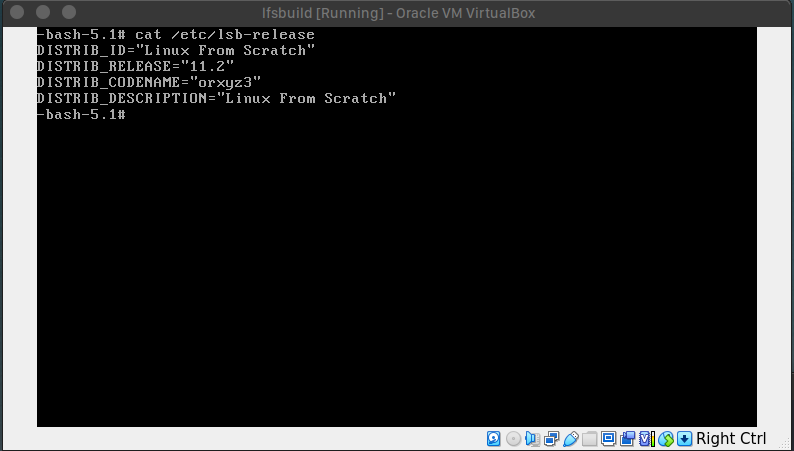
Not a whole lot to look at, but it works
LFS overall took me about 14 hours and a lot of that was during Chapter 8. I was also quite methodical with each step to ensure I had followed the book correctly. This is down to a mistake I had made last time I attempted this project where I managed to corrupt my disk somehow during Chapter 6, with no backups. This time went a lot smoother and I actually finished the project with very little going wrong.
Beyond Linux From Scratch
With LFS completed, readers are encouraged to reference BLFS to help them in the direction they want to go. It is not intended to be linear like LFS, instead it is basically a book full of package install tutorials that reference the tutorials for all of its dependencies elsewhere in the book. The Chapters are divided into software categories, e.g. Chapter 13 - Programming with guides for Python, PHP, Ruby, etc.
I immediately knew I didn't want to build everything from the minimal LFS console but instead I wanted the comfort of my usual terminal and SSH. So I started with Chapter 4 - Security for OpenSSH. I then installed Sudo, Linux-PAM and configured my user permissions to minimise potential mistakes going forward.
Now it was time to start the larger portion - a graphical environment. This was probably another 10 hours split across several evenings of working through Xorg and the many many dependencies - somewhere around 200 packages. During this time I started to fail builds due to running out of memory for the more substantial packages like CMake so I upped my VM resources. I was feeling quite relieved that I chose to run this build in a VM - not realising that this would be a pain point further down the line.
The general process for the majority of these packages was as follows, although each one had its unique build arguments or extra configuration required:
cd /sources

wget https://download.packagelocation.org/sources/package-name/0.1/package-name-0.1.tar.xz

tar -xvf package-name-0.1.tar.xz
cd package-name-0.1

./configure --prefix=/usr

make
sudo make install

cd ..
rm -rf package-name-0.1
Installing Xorg led to much more troubleshooting than I anticipated. So much so that I often spent hours down rabbit holes that weren't related to my issue at the time. I was modifying so much configuration that every time I ran startx to launch my desktop I encountered a different issue. Sometimes the mouse wouldn't work, sometimes the screen stopped responding, most of the time the keyboard would never respond. Though, all of these devices worked perfectly in the console up until launching the desktop.
There were too many variables at play that I felt like everything needed to line up perfectly
- The Virtualbox VM input settings
- The device drivers I had installed
- The devices supported during Linux kernel compilation
- The VBox support enabled during Linux kernel compilation
- The device driver configuration files
- The Xorg configuration files
- User permissions (root experienced different issues to my standard user)
I must have modified everything above in every combination I could think of. Revisiting the same previous errors in logs I thought I'd solved. I'd frequently break my console too so I'd be stuck with no login prompt - or occasionally break the entire startup process and have to boot into a live CD to fix my system. This section is the result of so many reboots and kernel rebuilds.
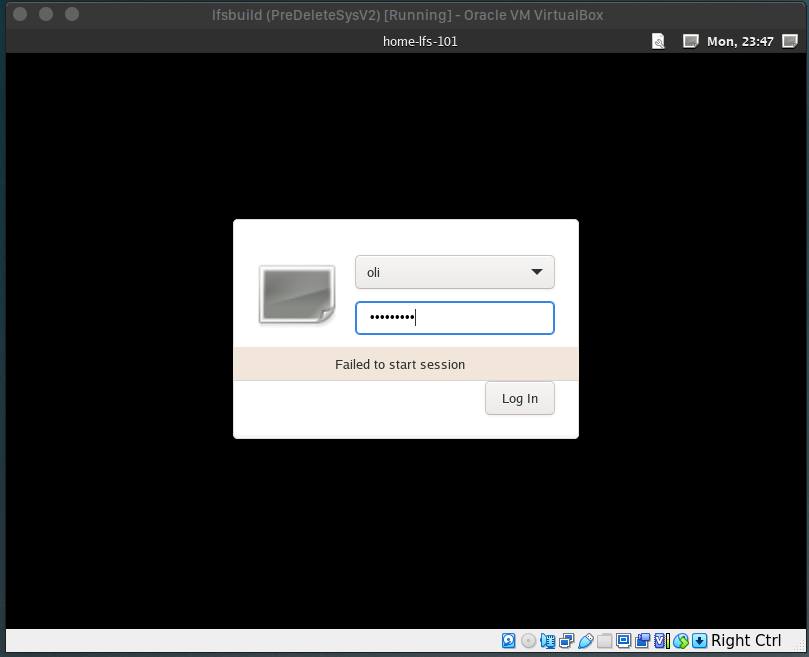
Ultimately I just decided to ignore the problem - I'd continue with the rest of the graphical environment and hope that I'd install some magical, all-knowing dependency as part of a display manager or tiling window manager. Obviously, this didn't fix anything, instead I'd boot into the graphical environment, be greeted with my new display manager and be incapable of typing any credentials into it.
After revisiting the situation a few days later I took a calmer approach of reading about how Linux manages devices to try and find out how I could possibly lose them between environments. Eventually I came across an article about udev, a device management tool in Linux which manages all the device events. It was part of systemd, but I had been building LFS and BLFS under SysV.
In a sort of last-ditch effort I decided to migrate from SysV to systemd. This involved quite a bit of backtracking through the LFS book and BLFS to catch up on dependencies and configuration but overall with the documentation available it was a fairly easy process.
I ran startx from the console to launch my desktop again and then ran sudo udevadm trigger from an SSH session, everything started working. I tried not to think about how much of that troubleshooting was actually useful compared to wasted time - but it was all beneficial at least.
Rice
Now that I can actually get into a desktop environment it was time to customise (or 'rice' ) it. Ricing is something I had never looked into before so I decided to keep it simple and lightweight. I aimed to get a simple tile window manager running and configure a pretty, minimal terminal.
After looking for some inspiration on /r/unixporn, I cobbled together some working setup using the following resources:
bspwm
- baskerville/bspwm - a tiling window manager
- Adapted from shapzo/Dotfiles_BSPwm' dotfiles
Eww
- elkowar/eww - a standalone widget system for window managers
- Adapted from okklol/eww-bar' dotfiles
scripts/cpu.shis credited to adi1090x
Font
Wallpaper
Along with the tools above, the screenshot below displays:
- nicolargo/glances - top/htop alternative
- dylanaraps/neofetch - sysinfo utility
- jallbrit/cbonsai - cli bonsai tree
See more of this in my lfs_dotfiles repo.
Conclusion
For the majority of this project I'd say it's more a matter of effort and patience than a matter of skill. Although skill might come into it more when you're troubleshooting or you need to figure out why/how you've broken something along the way. The books are well laid out and give you enough information to explore further if you wanted to.
As for motivation, I've mainly been an Ubuntu desktop user and never took the dive into Arch or Gentoo, I thought I'd just go into the deep end and try LFS. I'd recommend it if you're looking for a project.
From here, I'll either retire the build as is - or I'll attempt to adapt the kubernetes-the-hard-way guide to my LFS build and see just how much of a glass cannon production system I can create in my homelab.
